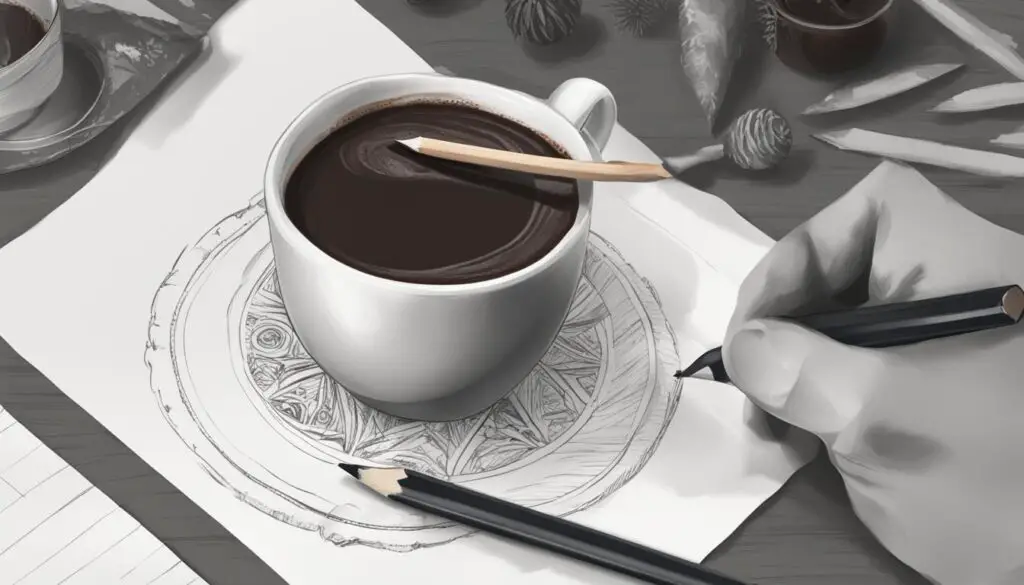
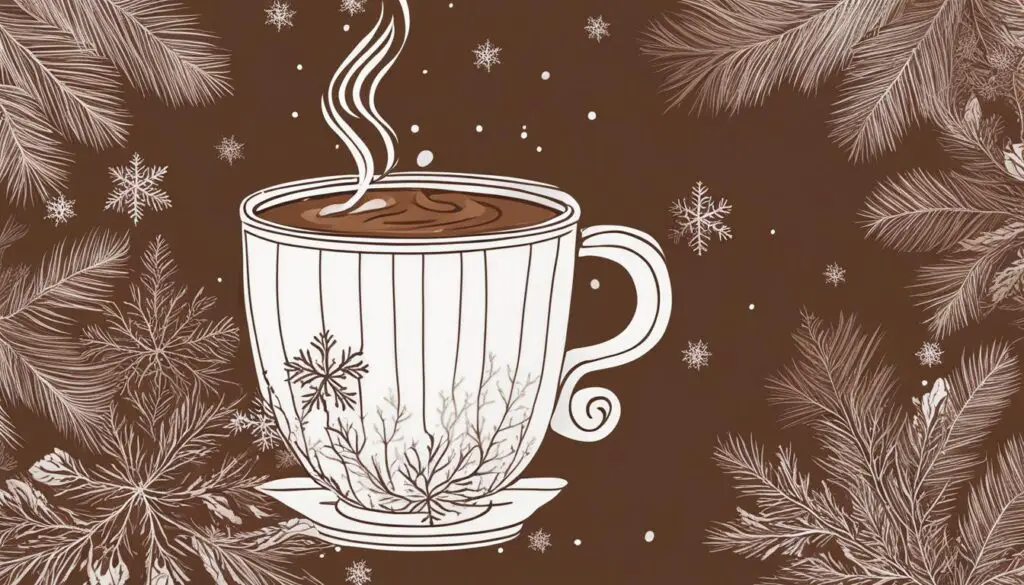
Learning how to draw hot chocolate is a fun and creative way to celebrate the holiday season. In this step-by-step guide, we will walk you through the process of drawing a Christmas-themed hot chocolate with marshmallows. Whether you’re an experienced artist or just starting out, this tutorial is perfect for all skill levels. So grab your art supplies, get cozy, and let’s bring this delicious warm drink to life!
Key Takeaways:
- Follow this step-by-step guide to learn how to draw a Christmas hot chocolate with marshmallows.
- Gather the necessary art supplies such as a pencil, paper, eraser, and coloring tools of your choice.
- Start by sketching the mug and then add the rim, marshmallows, steam, and handle.
- Add details to the mug by drawing stripes and curved lines for texture.
- Finish off your drawing by adding swirling lines to the hot chocolate and coloring it with rich browns.
Supplies Needed for Drawing Hot Chocolate
Before we dive into the step-by-step tutorial, let’s make sure you have all the necessary supplies to create your hot chocolate masterpiece. Here’s a list of what you’ll need:
- A pencil
- Paper
- An eraser
- Coloring supplies of your choice (watercolors, markers, colored pencils, etc.)
Gather these items and find a comfortable workspace where you can let your creativity flow. Now, let’s move on to the fun part – drawing hot chocolate!
Supplies for Drawing Hot Chocolate
| Supply | Description |
|---|---|
| Pencil | A basic tool for sketching and outlining |
| Paper | A blank canvas for your artwork |
| Eraser | To make corrections and remove unwanted lines |
| Coloring supplies | Choose your favorite medium to bring your drawing to life |
Remember, there’s no right or wrong way to draw hot chocolate. Feel free to customize your drawing and add your own personal touch. Let your imagination run wild!
Now that you have your supplies ready, let’s get started with the first step of the tutorial – sketching the mug. Get ready to unleash your artistic talent!
Step 1 – Sketch the Mug
In this first step of our hot chocolate drawing tutorial, we will begin by sketching the mug that will hold the delicious hot beverage. Using your pencil, start by drawing curved lines to create the sides of the mug. Pay attention to the proportions and shape, ensuring that it looks realistic and well-defined. Next, draw a horizontal curved line for the base of the mug, giving it a sturdy foundation.
To create a visually engaging and inviting mug, take your time with the sketching process. Make sure that the curves and lines flow smoothly to capture the essential characteristics of a hot chocolate mug. Remember, attention to detail is key in bringing your drawing to life!

Add Tip:
When sketching the mug, try breaking down the shape into basic geometric forms. For example, you can start with an oval shape for the body of the mug and then add the handle and details later. This technique can help you achieve a more accurate and balanced drawing.
Table: Sketching the Mug
| Step | Description |
|---|---|
| 1 | Start by drawing curved lines to create the sides of the mug. |
| 2 | Draw a horizontal curved line for the base of the mug. |
| 3 | Refine the proportions and shape of the mug, ensuring it looks realistic. |
| 4 | Pay attention to detail and ensure the curves and lines flow smoothly. |
Step 2 – Draw the Rim and Marshmallows
In this step, we will add the rim of the mug and the delightful marshmallows floating on the surface of the hot chocolate. Let’s make our drawing even more inviting!
Start by using curved lines to draw the rim of the mug. Make sure to leave a small gap for the steam that we will add later. The rim should follow the shape of the mug and give it a defined edge.
Next, let’s bring some coziness to our hot chocolate by adding marshmallows. Draw rounded rectangular shapes on the surface of the hot chocolate, positioning them within the mug. Feel free to add as many marshmallows as you like to create a truly delicious experience.
“The marshmallows add a touch of sweetness to our hot chocolate, making it even more tempting to indulge in.”
Now that we have completed this step, our hot chocolate is coming together beautifully. It’s time to move on to the next step and bring even more life to our drawing.
Table: Supplies Needed for Drawing Hot Chocolate
| Supplies | Description |
|---|---|
| Pencil | For sketching the initial outline |
| Paper | To draw on |
| Eraser | To correct and adjust lines |
| Coloring supplies | Watercolors, markers, or colored pencils for adding color |
With the rim and marshmallows added, our hot chocolate drawing is starting to take shape. Let’s continue our journey in the next step as we add steam and the handle to complete the cozy feel of our festive drink.
Step 3 – Add Steam and Handle
Now that we have sketched the mug and added marshmallows, let’s make our hot chocolate drawing even more lifelike by adding some steam and a handle. These details will enhance the cozy and inviting feel of our artwork.
Adding the Handle
Begin by drawing a curvy line extending from the side of the mug. This line will serve as the handle. Take your time to create a smooth and graceful curve that complements the shape of the mug.
Next, add a slight curve at the top of the handle, which will connect it to the body of the mug. This small detail will give the handle a more realistic appearance.
Creating Steam
To depict steam rising from the hot chocolate, draw wavy lines extending from the surface of the beverage. These lines should be slightly curved and vary in length and thickness.
Fill in the gaps in the rim of the mug with some of the steam lines. This will create the illusion of warmth and add depth to our drawing.
Take a moment to step back and admire your artwork so far. The steam and handle bring an extra touch of authenticity to your hot chocolate drawing. Now, let’s move on to the next step to add even more details and make your drawing truly remarkable!
Step 4 – Add Details to the Mug
Now that you have the basic structure of the hot chocolate mug in place, it’s time to add some details that will make your drawing even more appealing. The details will give your mug a sense of texture and character. Get ready to bring your hot chocolate to life!
To start, draw diagonal stripes along the body of the mug. These stripes will add a textured pattern that mimics the appearance of a real mug. You can make the stripes as thin or as thick as you like, so feel free to experiment and find a pattern that suits your artistic style.
Next, let’s focus on the handle of the mug. Draw slightly curved lines across the handle to complement the stripy pattern. These lines will add depth and dimension to the handle, making it look more realistic. Take your time to make sure the lines are smooth and flowing.
With the addition of these details, your hot chocolate mug is now complete! Take a step back and admire your work so far. The diagonal stripes and curved lines have added a touch of elegance and sophistication to your drawing. Now, you’re ready to move on to the final touches and bring your hot chocolate mug to life with color!

Table: Details to Add to the Mug
| Details | Description |
|---|---|
| Diagonal Stripes | Draw diagonal stripes along the body of the mug to create a textured pattern. |
| Curved Lines | Add slightly curved lines across the handle of the mug to complement the stripy pattern. |
Step 5 – Final Touches and Coloring
In this final step, we will add some beautiful final touches to our hot chocolate drawing and bring it to life with colors. Let’s dive in!
Swirling Hot Chocolate
To create the illusion of swirling hot chocolate, use your pencil to add curvy lines within the mug. These lines represent the movement and depth of the liquid. Start at the bottom of the mug and gradually make the lines lighter as you move upwards. This technique will add a realistic and dynamic element to your drawing.
Take your time, adjusting the curves and thickness of the lines until you achieve the desired effect. Don’t be afraid to experiment and let your creativity guide you.
Complete the Stripy Pattern
Remember the diagonal stripes we added to the body of the mug in the previous step? Now it’s time to extend those stripes across the handle. Draw slightly curved lines that follow the shape of the handle, intersecting the diagonal stripes. This will create a cohesive and visually appealing stripy pattern throughout the entire mug.
Ensure that the lines on the handle align with the diagonal stripes on the body of the mug. Consistency in your line work will give your drawing a polished look.
Color Your Creation
Now comes the fun part – coloring! Use rich, dark browns to bring the hot chocolate to life. Consider adding some shading to create depth and highlight the contours of the mug. Lighter browns can be used for the rim and handle. Don’t be afraid to use different shades and experiment with blending.
Feel free to add more colors to your drawing if you’d like to make it even more festive. Consider adding vibrant reds and greens for a Christmas touch, or perhaps some pastel colors for a whimsical look.
Remember, the colors you choose can completely transform the mood and feel of your drawing, so let your imagination run wild!
Create Your Perfect Hot Chocolate Drawing this Christmas
Now that you’ve followed this step-by-step drawing tutorial, you can create your perfect hot chocolate drawing this Christmas! Let your creativity run wild as you customize your artwork with your favorite elements.
Add more marshmallows to make your hot chocolate extra fluffy, or choose a favorite mug to give it a personal touch. You can even experiment with different colors and patterns to make your drawing truly unique.
Whether you’re creating art for yourself or preparing a special gift for someone, this Christmas-themed hot chocolate drawing is sure to bring joy and warmth. So grab your art supplies, embrace the holiday spirit, and let your imagination flow.
FAQ
Can I use different coloring supplies for this drawing?
Yes, feel free to use watercolors, markers, colored pencils, or any other medium you prefer to bring your hot chocolate drawing to life!
Can I customize the drawing with additional elements?
Absolutely! You can add more marshmallows, a favorite mug, or any personal touches to make your hot chocolate drawing unique and special.
How can I make the hot chocolate look more realistic?
To add realism, you can use curvy lines to create the illusion of swirling in the hot chocolate and draw diagonal stripes on the mug to represent texture.
What colors should I use for the hot chocolate and the mug?
For the hot chocolate, use rich, dark browns, and for the mug, use lighter browns. However, feel free to get creative and use any additional colors you desire!
Can I use this drawing tutorial for other occasions besides Christmas?
Absolutely! While this tutorial has a Christmas theme, you can use it to create a cozy hot chocolate drawing for any occasion or simply to unleash your artistic side.
